
Ford Fiesta Mk7 (Mk8 in UK) 3D printed screen mounted phone mount bracket
Concept Sketching
I had a rough plan of how I wanted the parts to look, so started with a basic concept sketch to show the layout in simple terms.

Concept Sketching
I had a rough plan of how I wanted the parts to look, so started with a basic concept sketch to show the layout in simple terms.
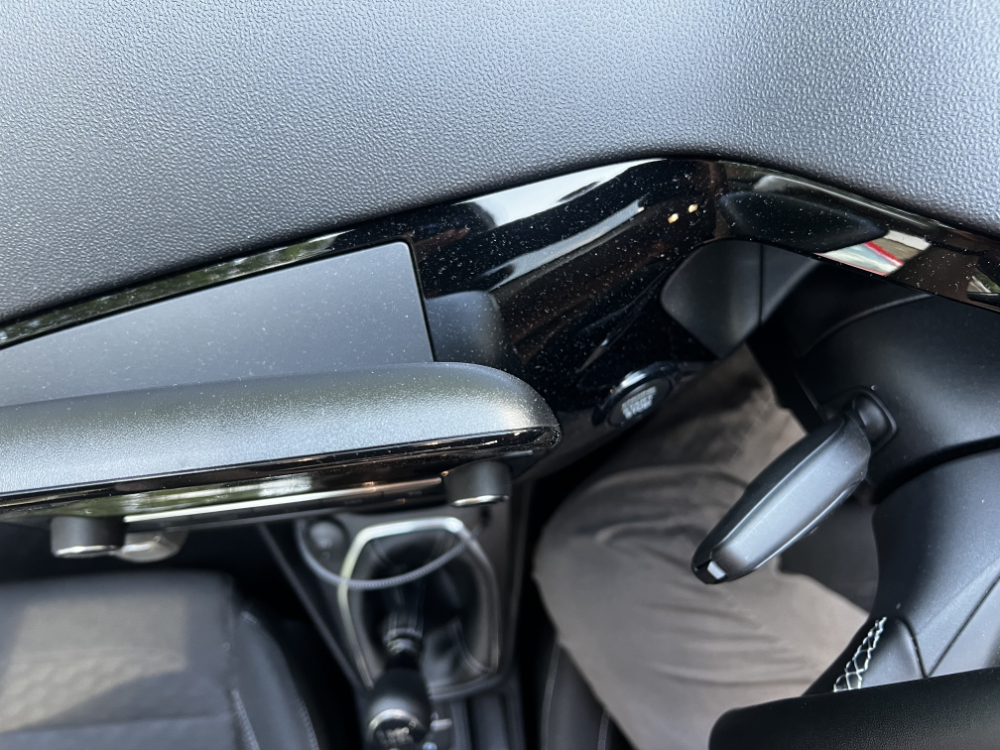
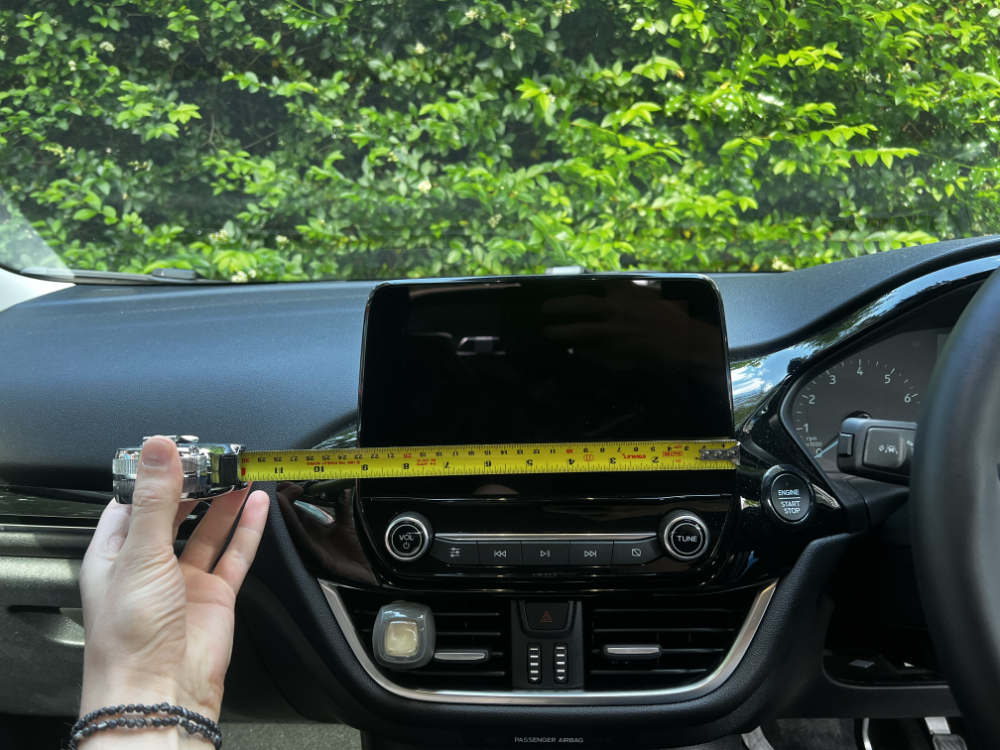
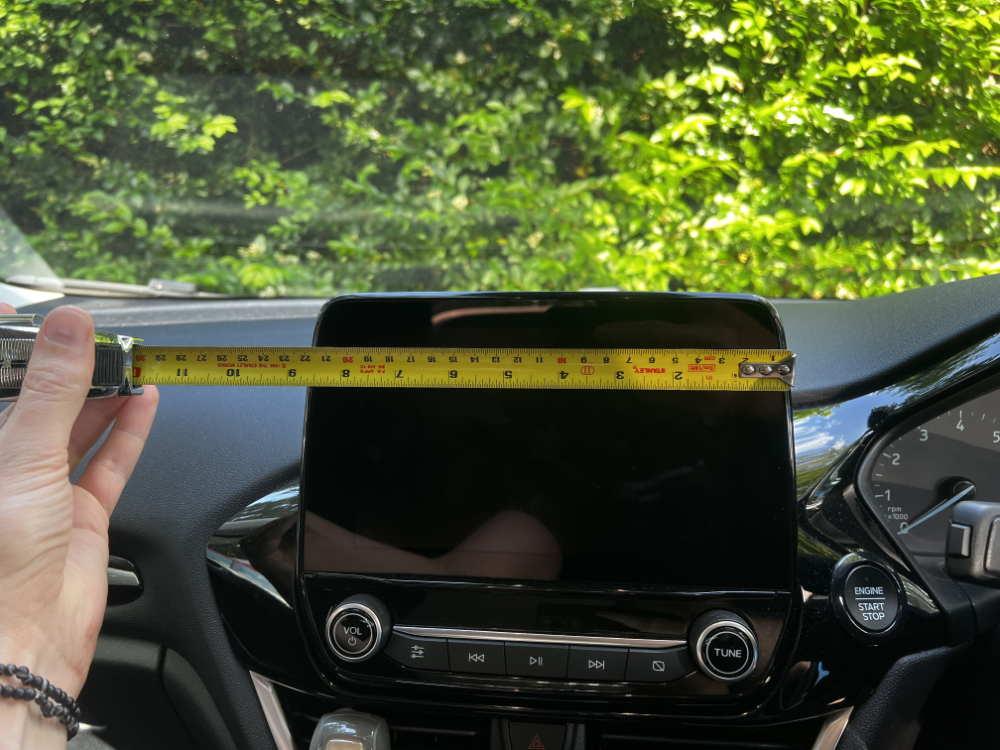
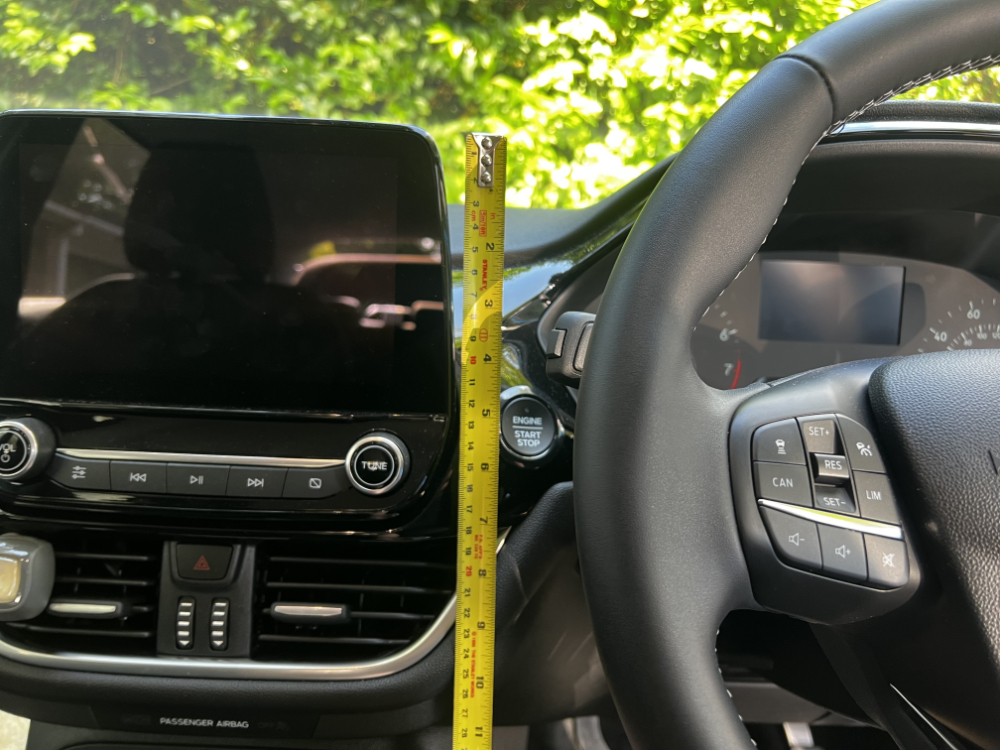
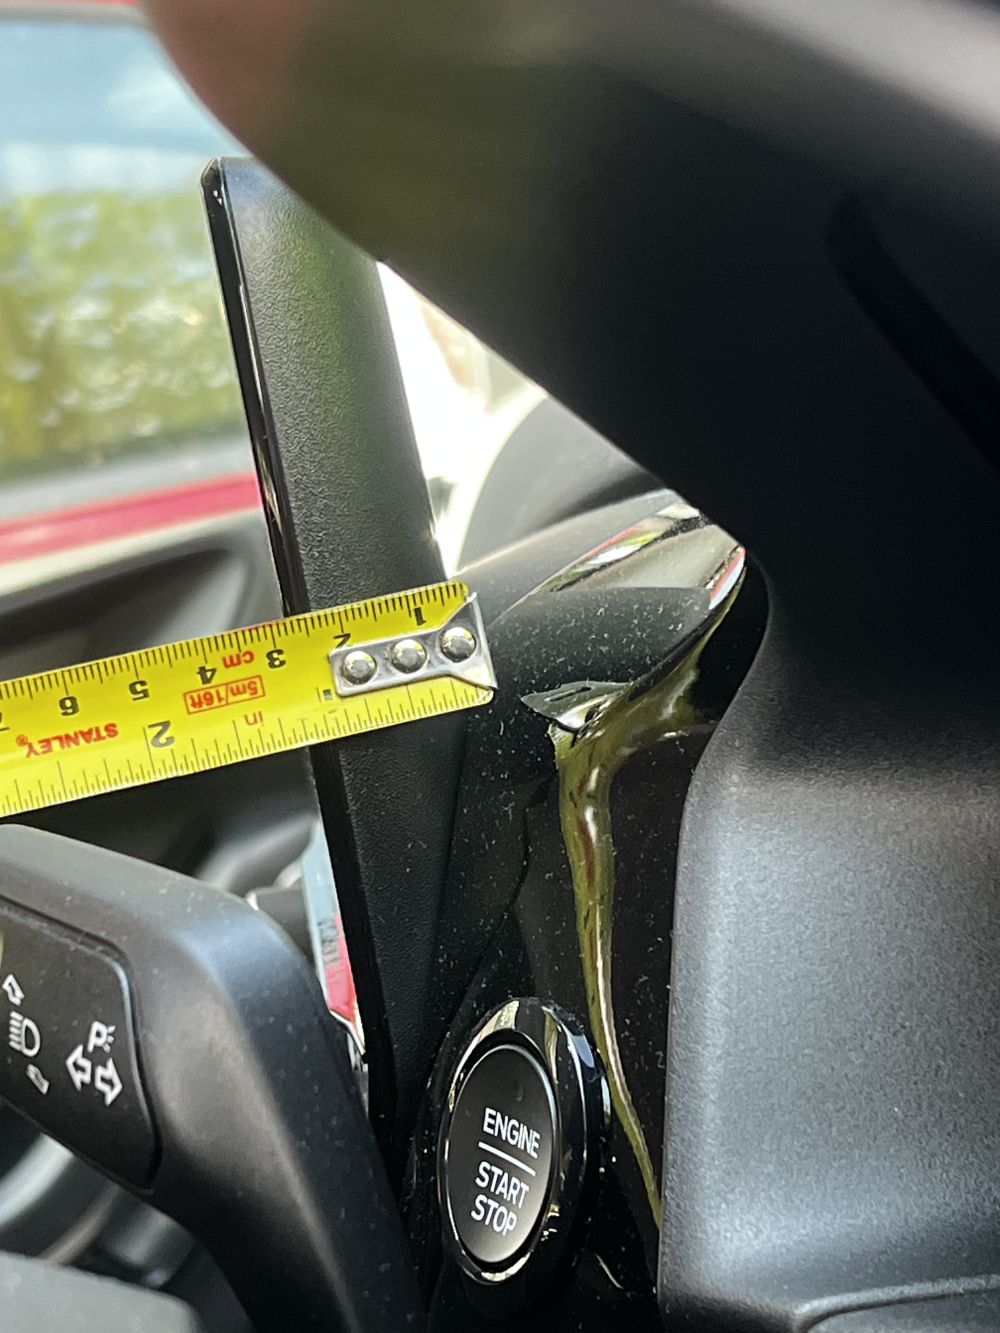
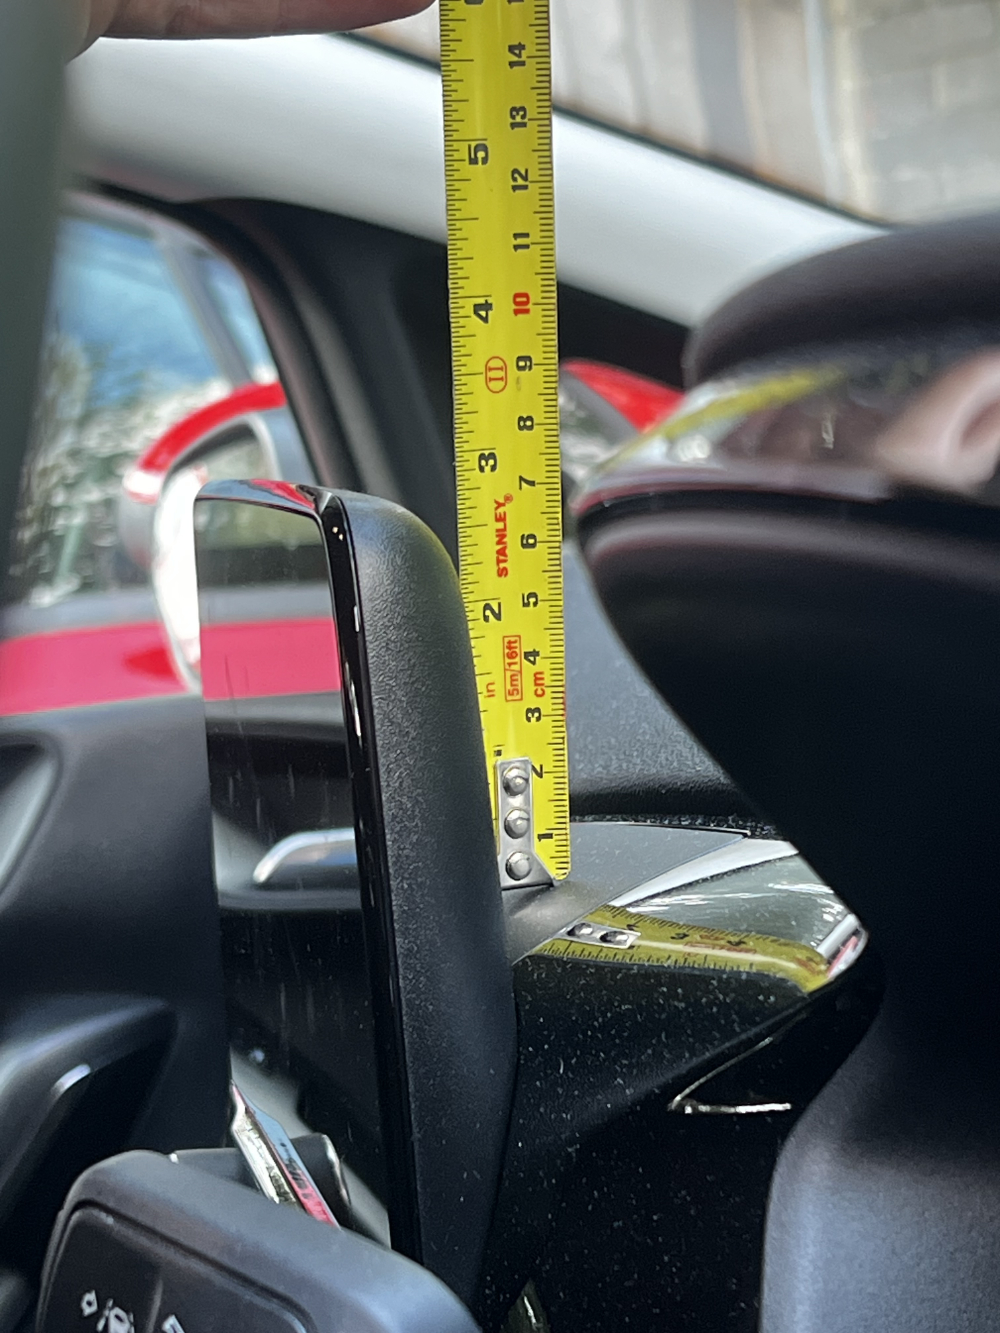
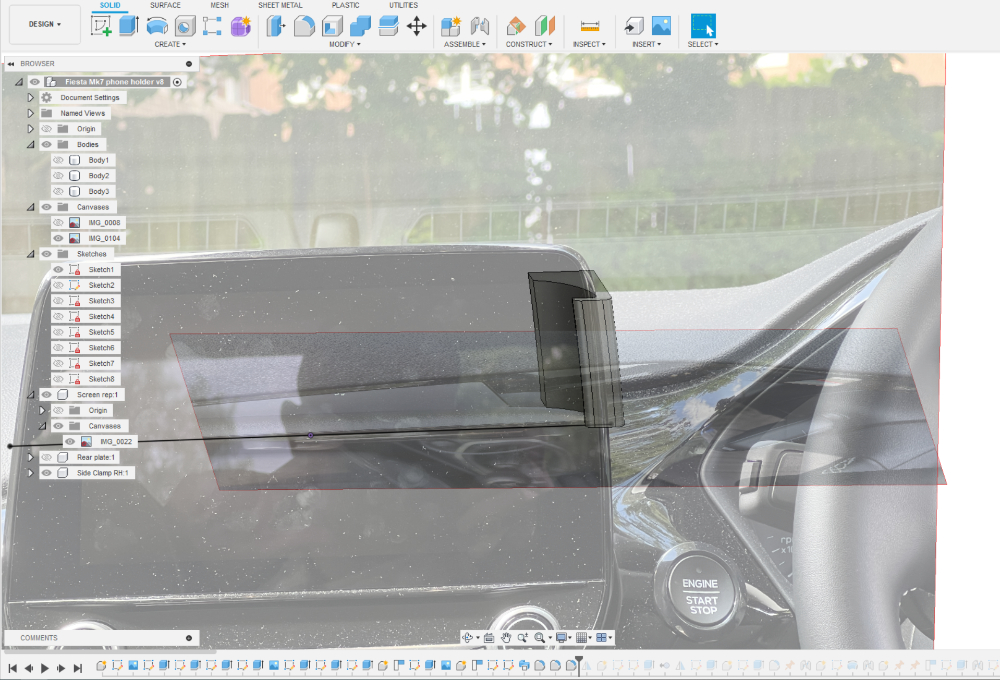
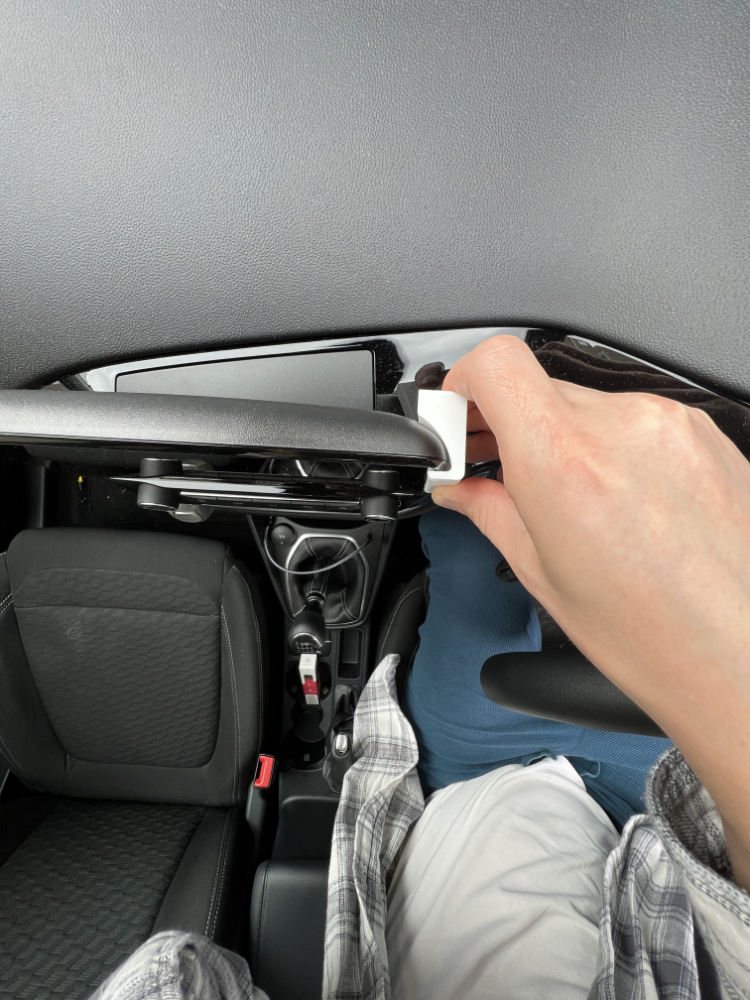
Reference images and dims
The first step is to take as many reference photos as possible to get the details we need. This will include photos from different angles to bring into CAD and photos which show dimensions which we can use to draw geometry in CAD to the correct size and shape.

Reference images and dims
The first step is to take as many reference photos as possible to get the details we need. This will include photos from different angles to bring into CAD and photos which show dimensions which we can use to draw geometry in CAD to the correct size and shape.
Car phone mount - 3D printed
CAD Design Stage
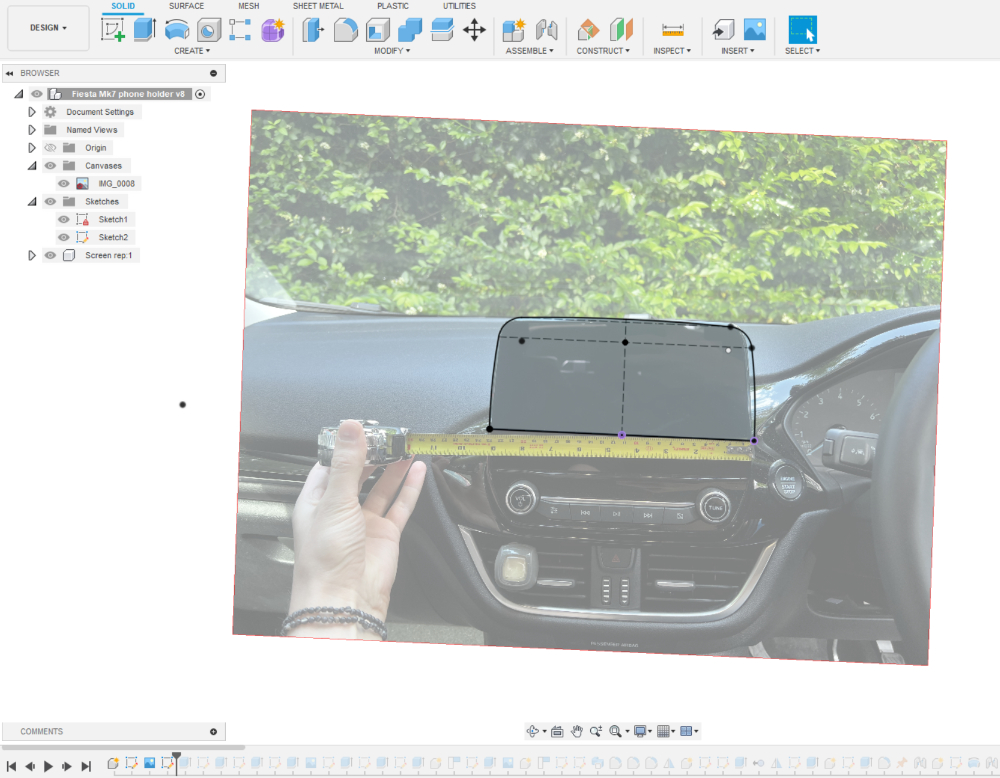
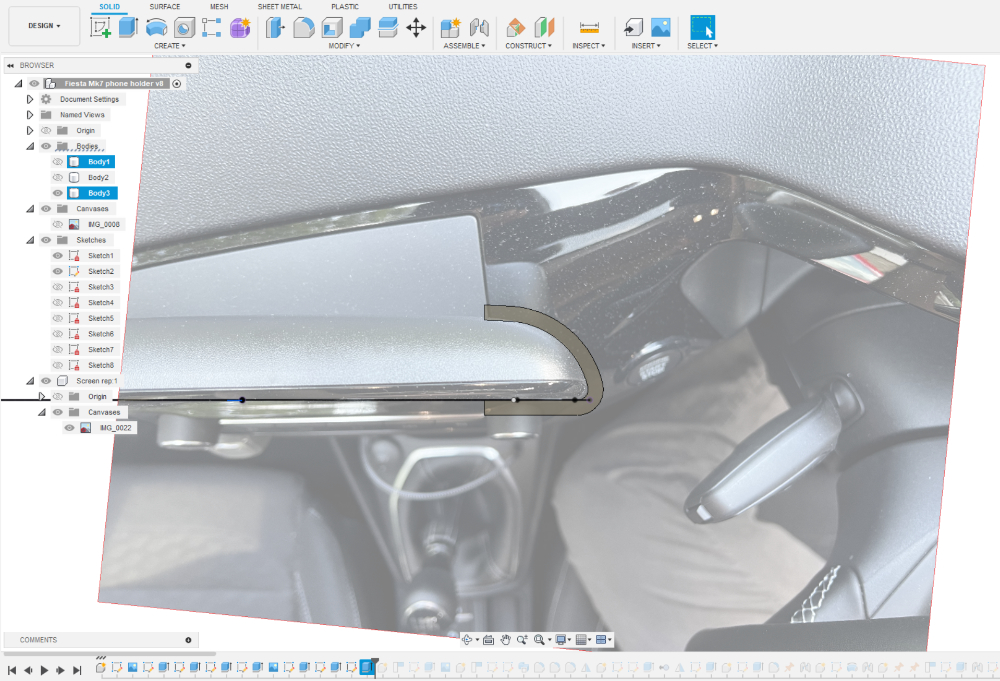
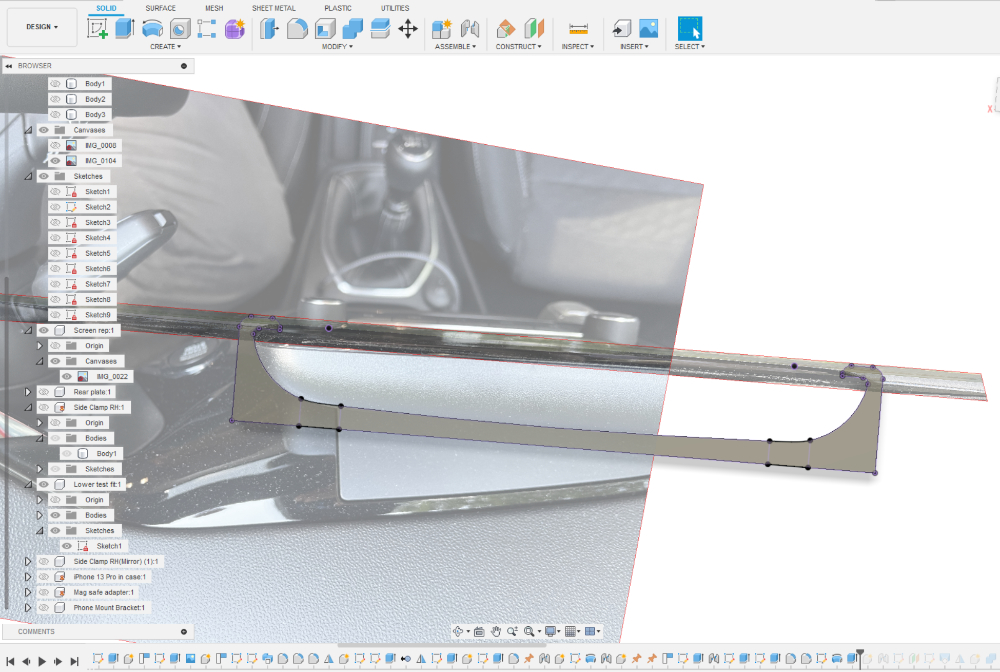
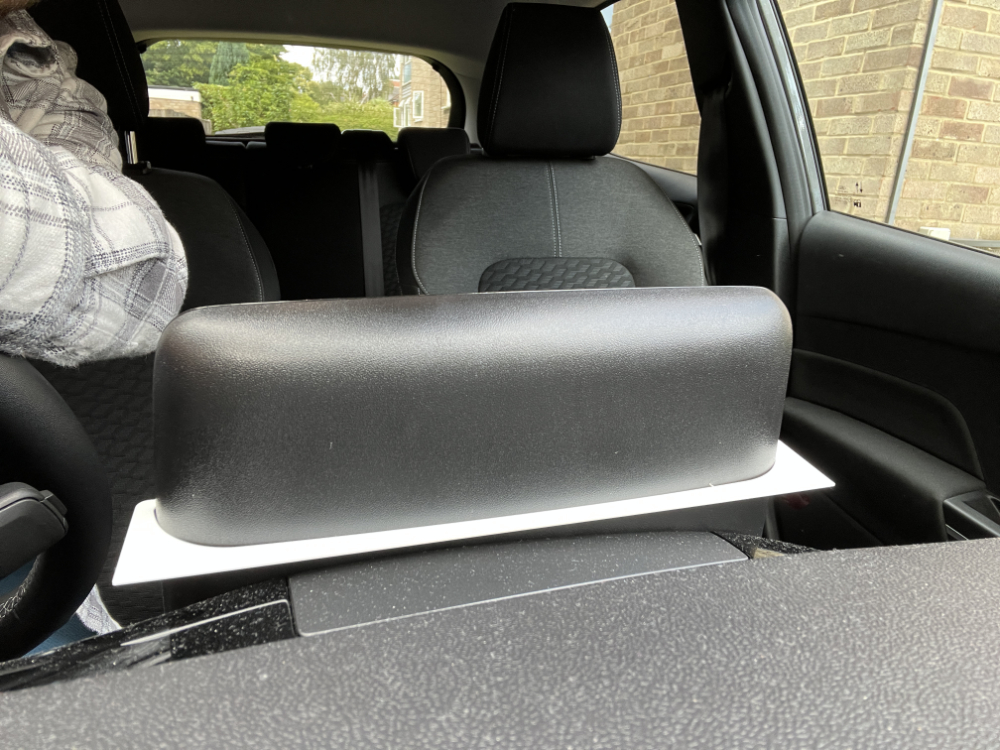
Checking the basic geometry
We begin with the photos and measurements, bring those into CAD with images on planes. we then scale these images using the dims we took, as best we can.
Now we can model up some basic shapes to print off. We are trying to validate that we have our CAD dims and shapes correct using as little material as possible.
As with all stages, if we find things don’t fit how we want them to, we go back to CAD, make adjustments and then re-print the test pieces to check if we have improved the fit enough to move onto the next stage.
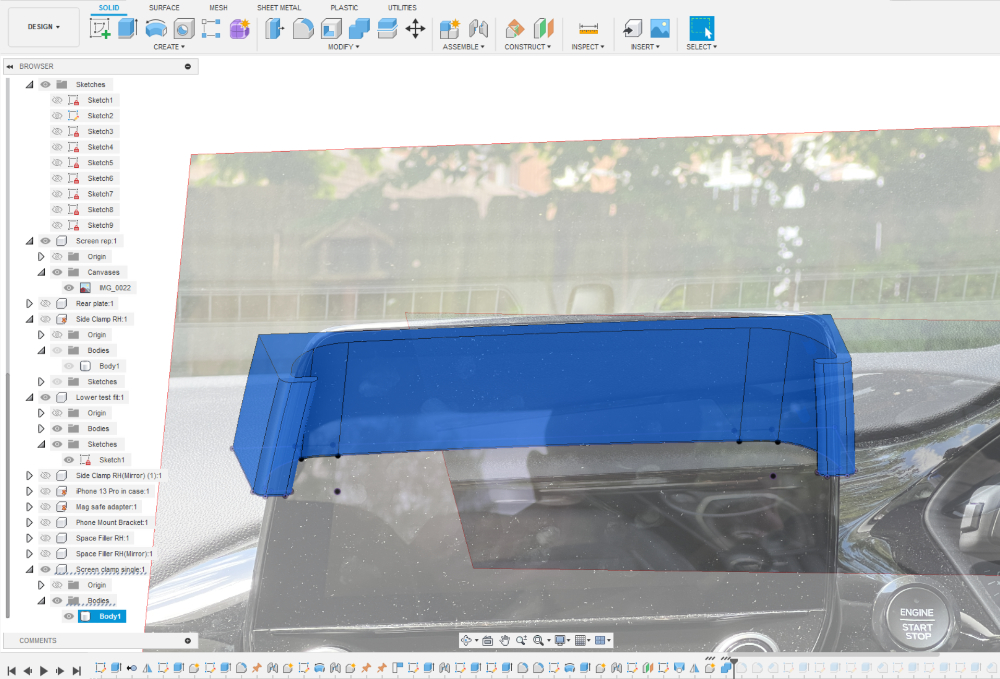
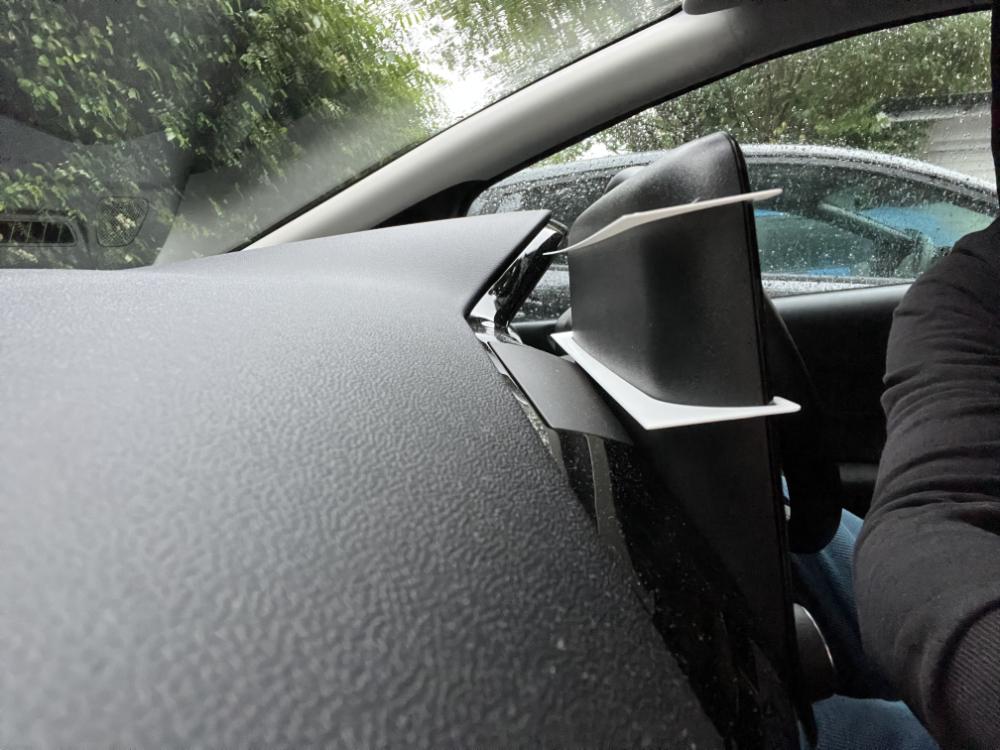
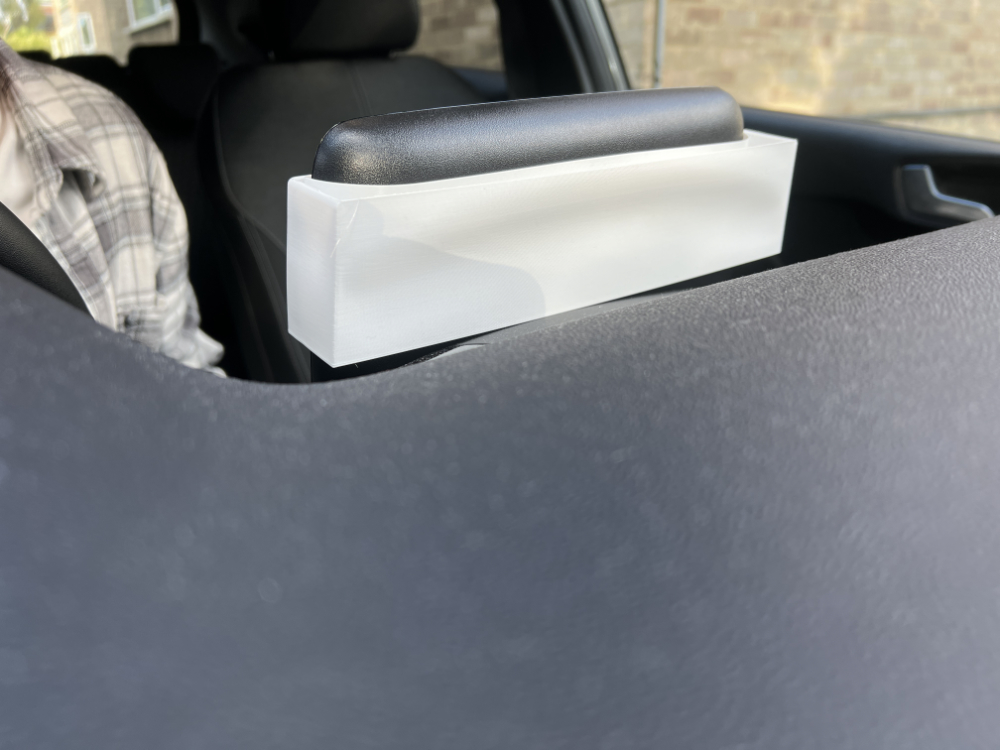
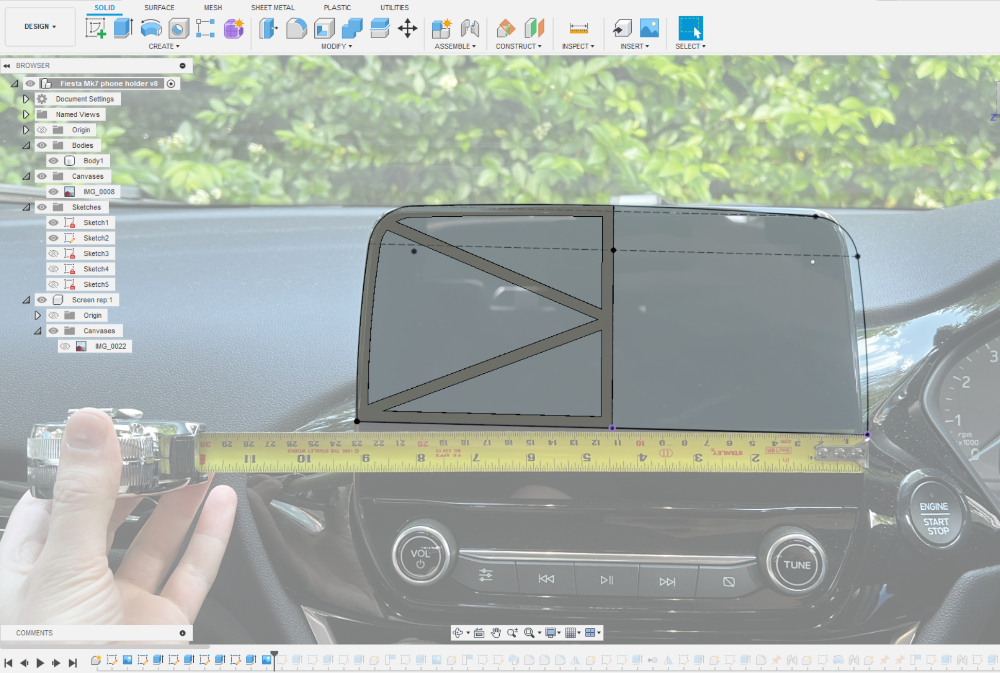
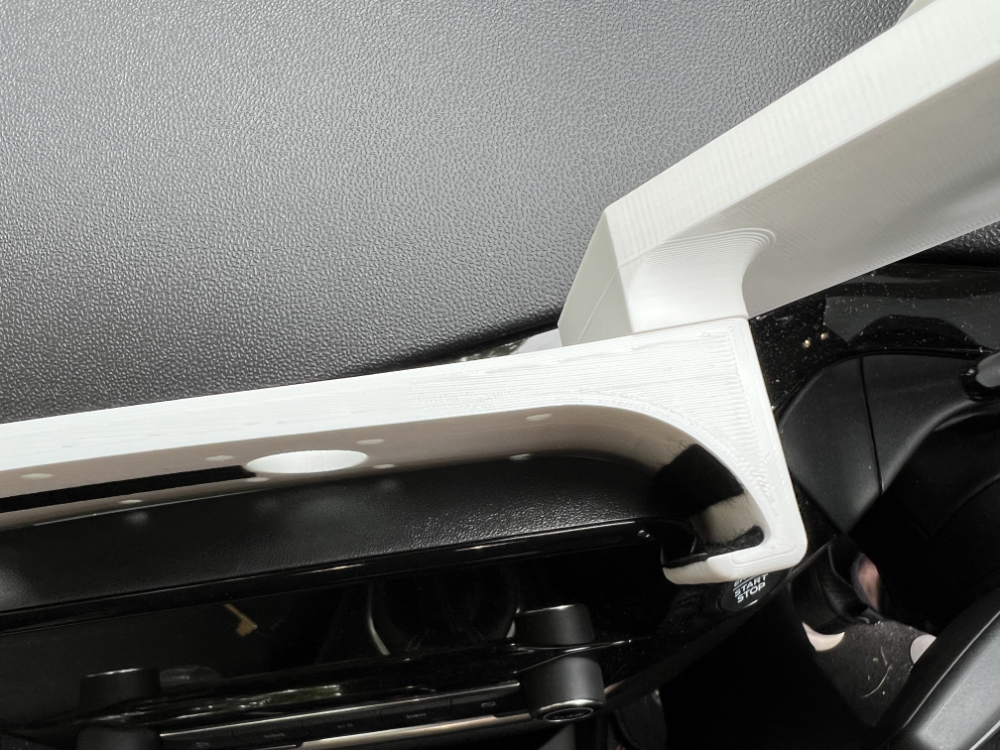
Getting the final shapes sorted
for this design, we are checking the side radius dims, the height dims and the way the top and bottom of the screen dims link up based on the printer templates.
Getting the final shapes sorted
for this design, we are checking the side radius dims, the height dims and the way the top and bottom of the screen dims link up based on the printer templates.
Final Design
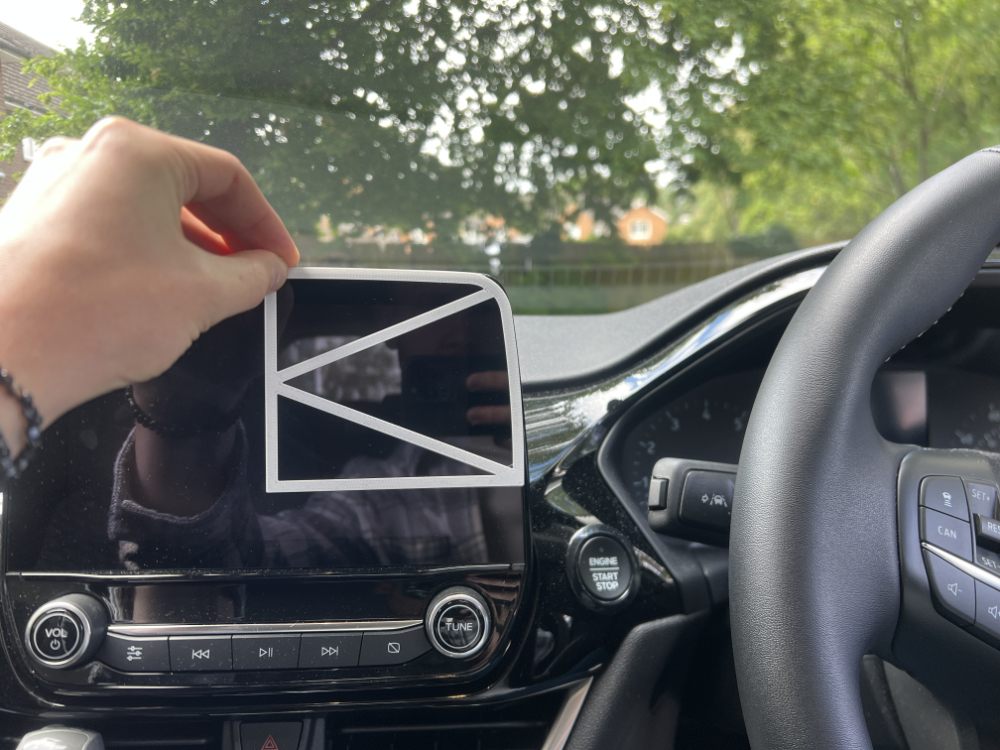
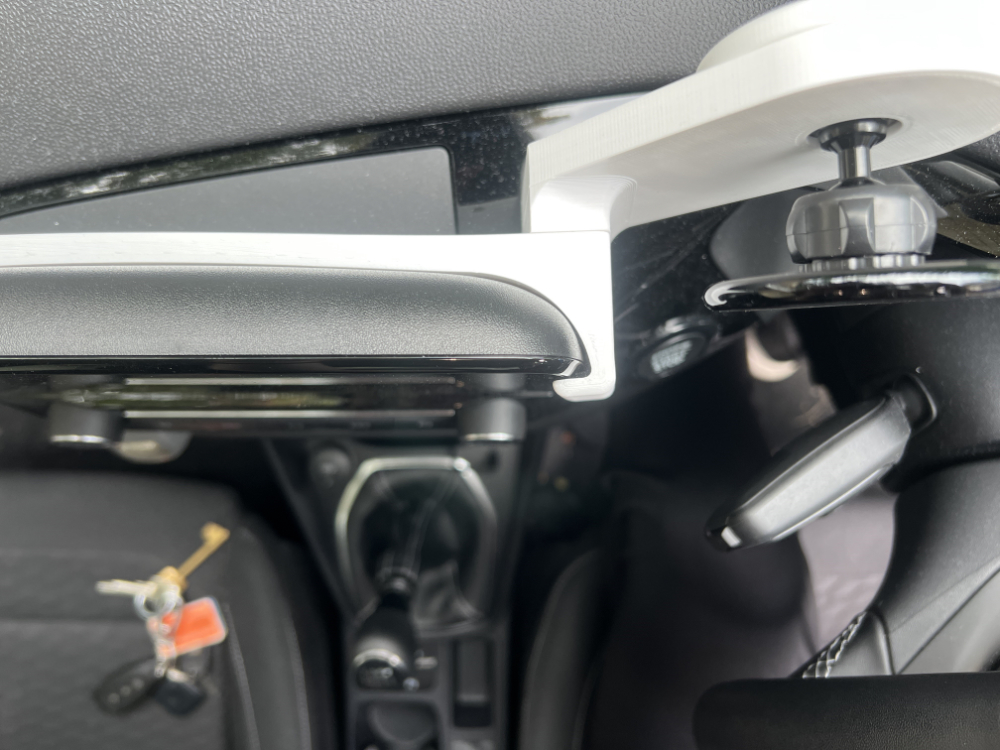
Adding the phone mount
I already have the rough sketch which shows roughly where the phone will be positioned, but now I can use the CAD and the photos to use for reference.
I have modelled up my phone in its case, as well as the mag safe adapter by measuring them with a cheap amazon Vernier calliper. This is not 100% accurate, but good enough for this purpose.
Once I have these modelled up, I move them into position in the CAD assembly and them create the geometry needed to hold these parts where I want them.
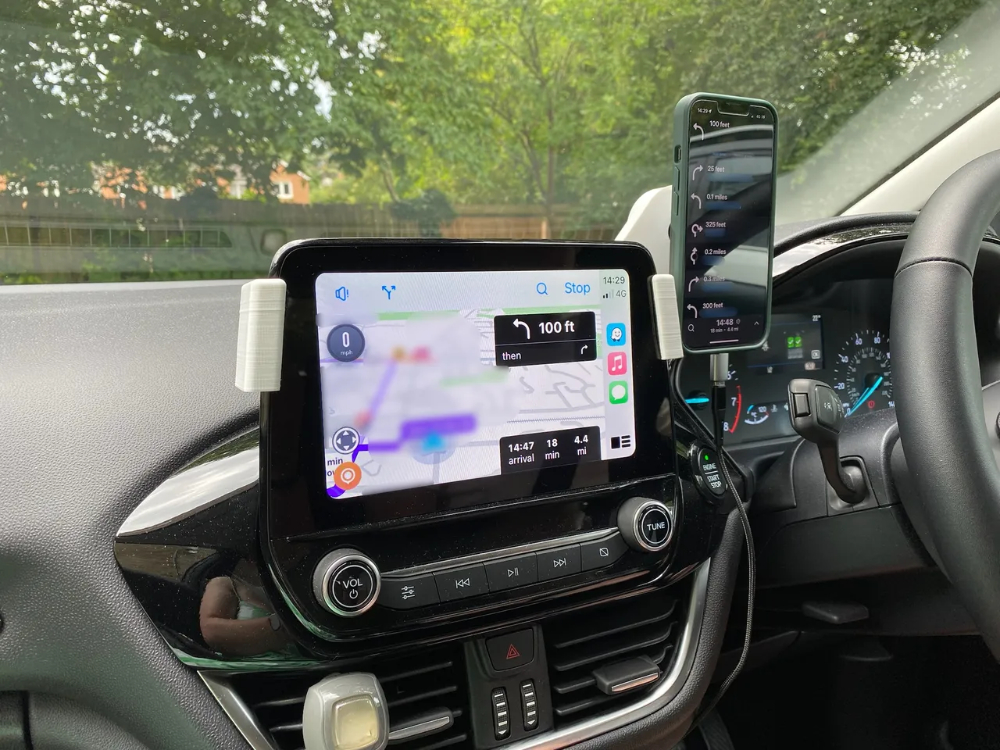
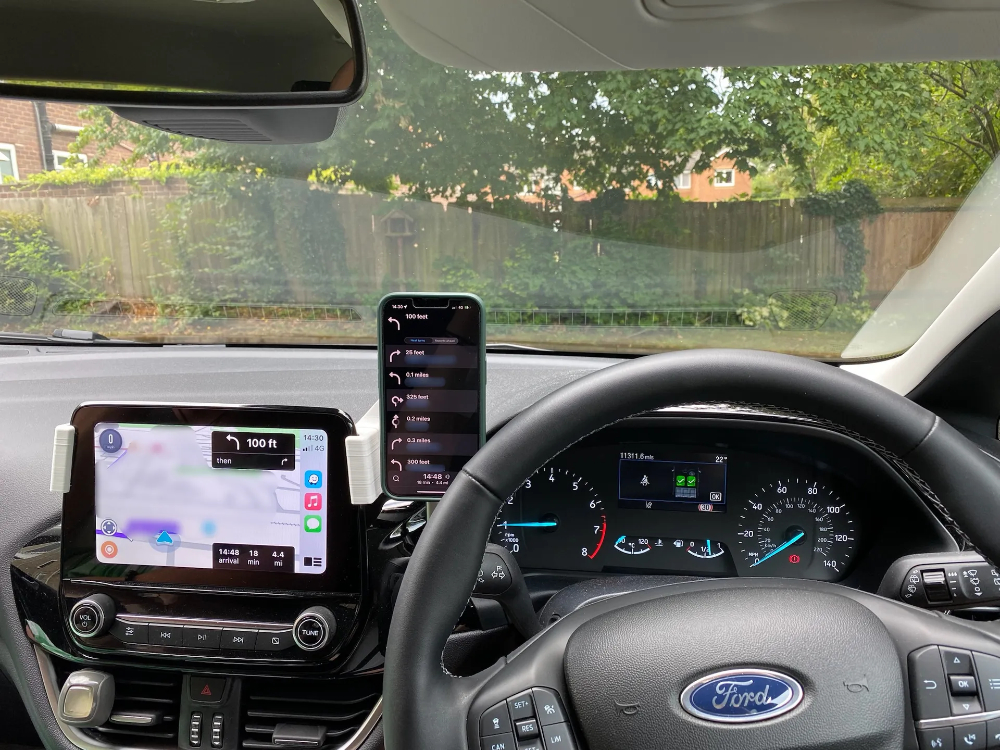
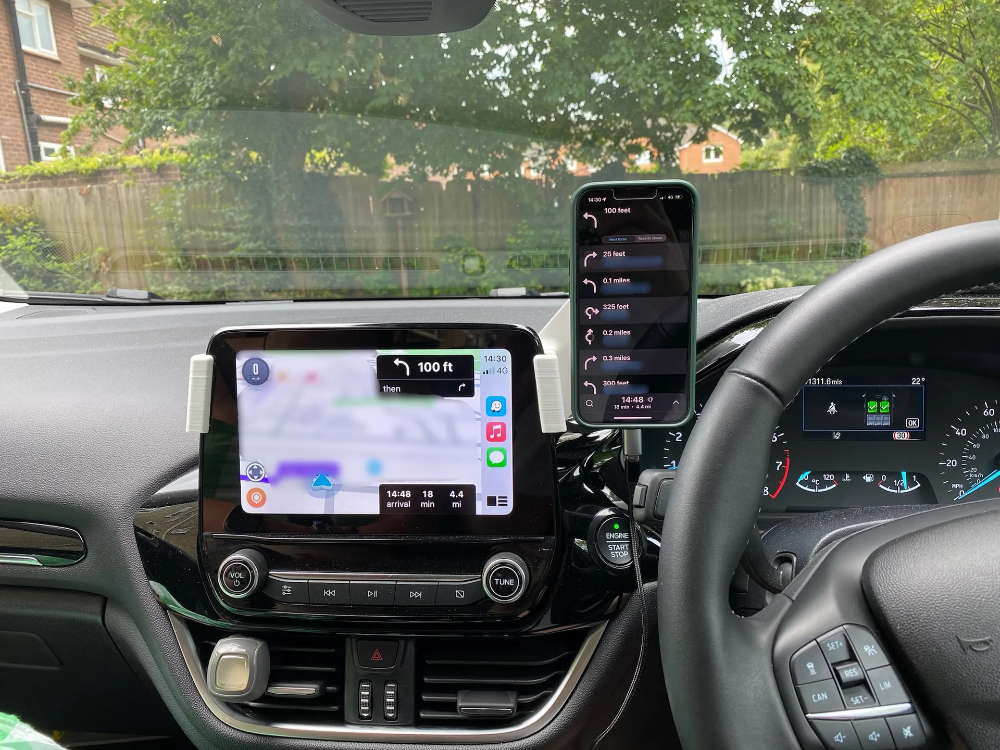
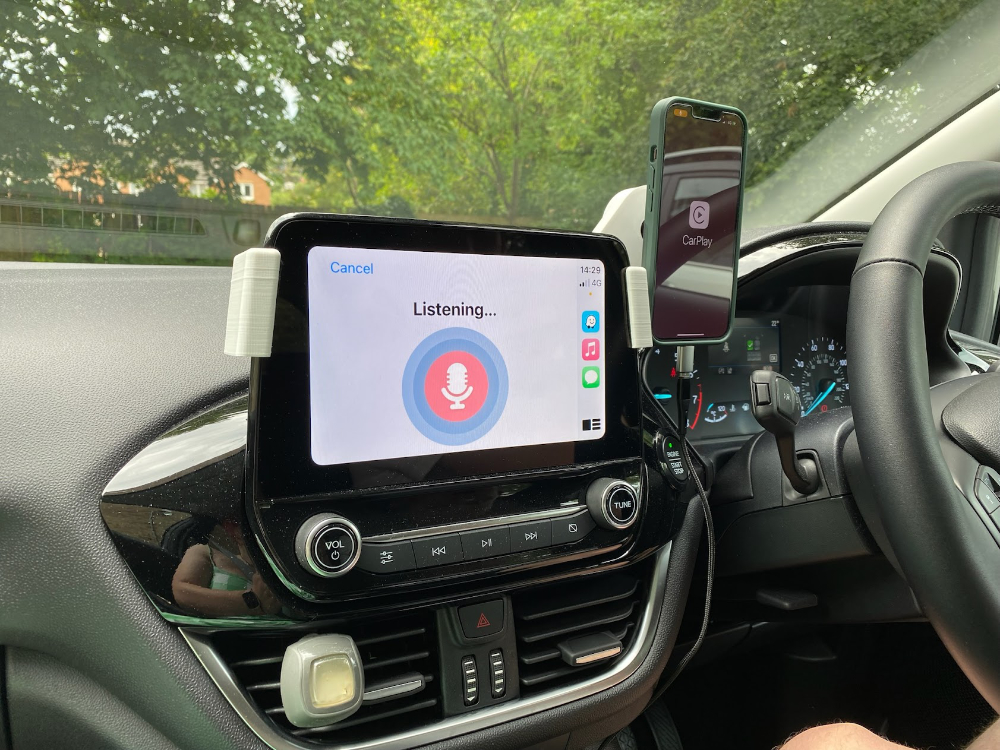
Final Notes
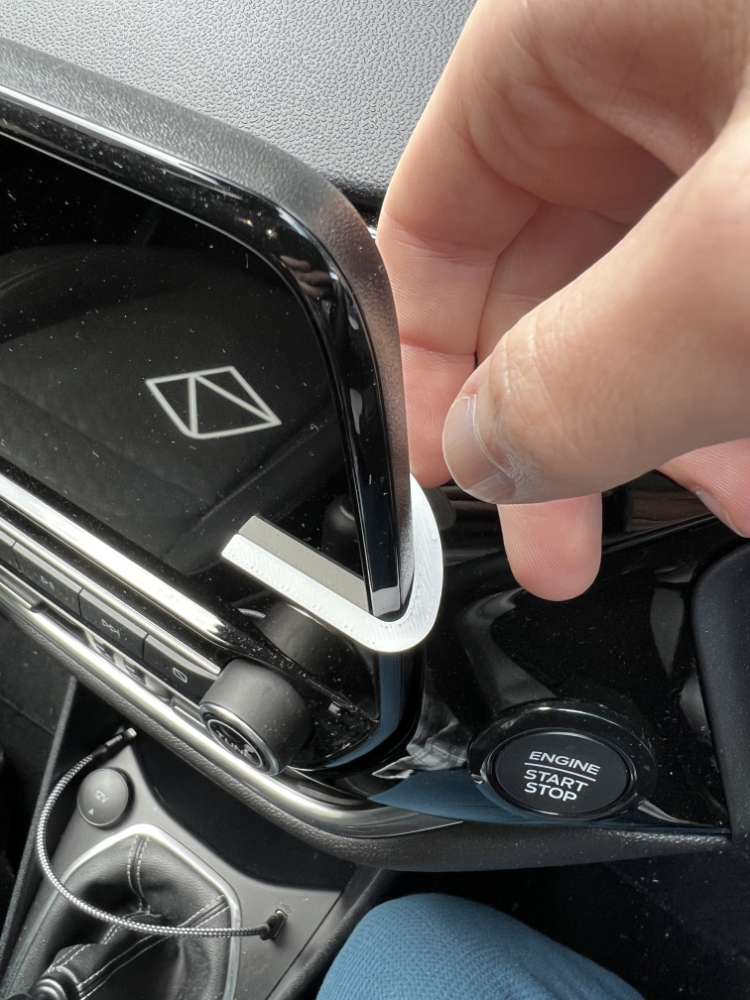
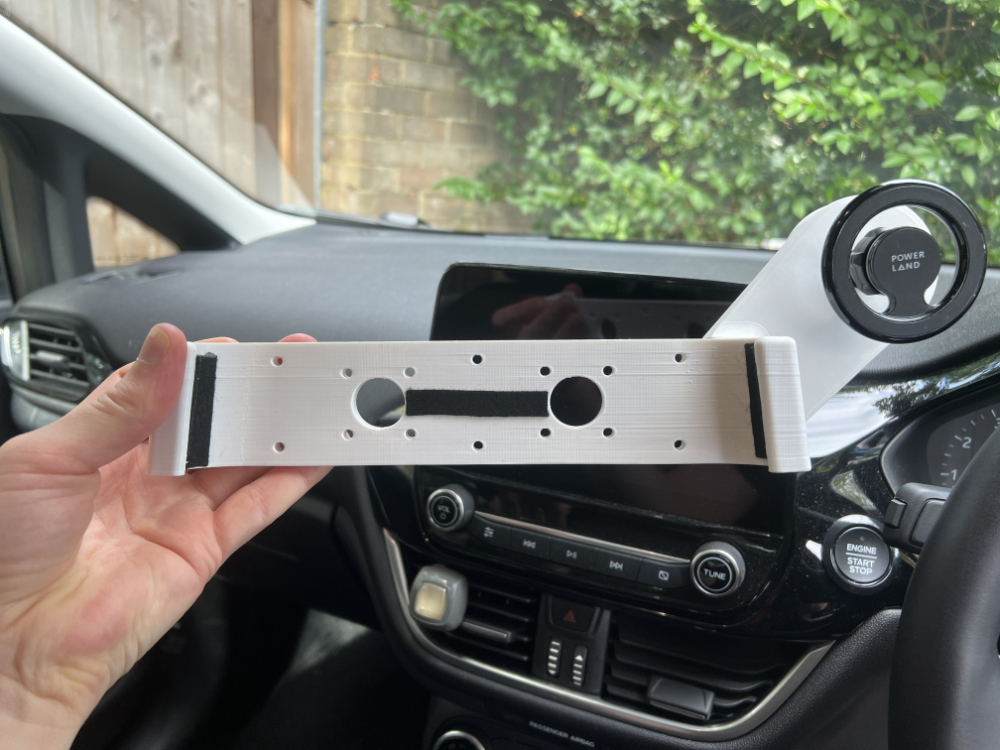
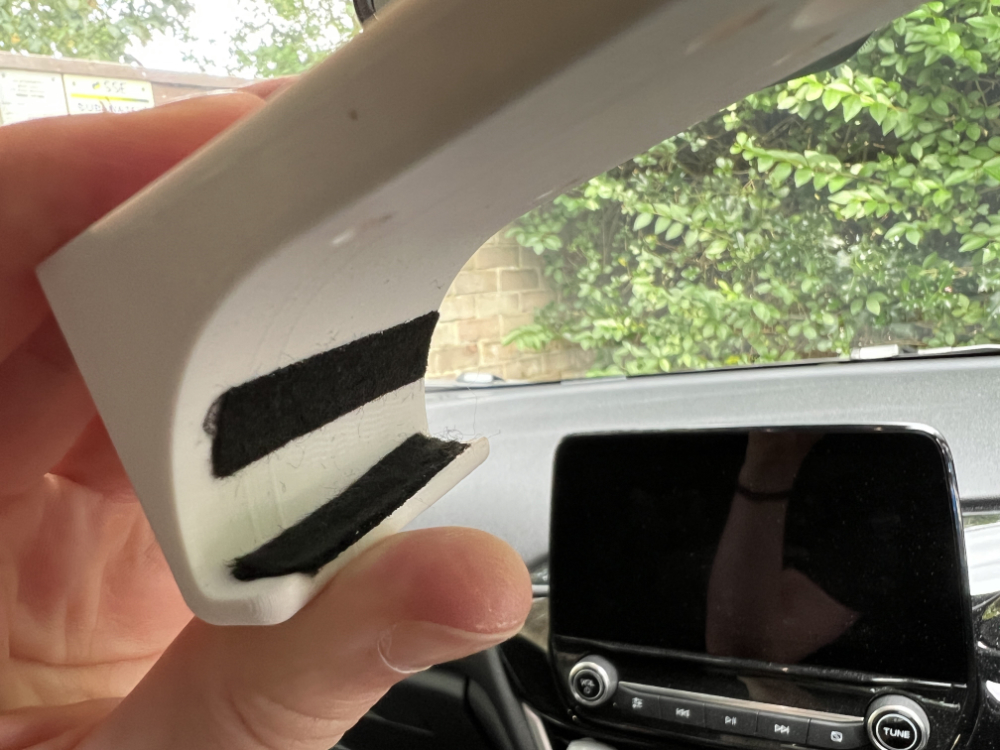
The design uses strips of felt on the inside of the interface are which touches the car screen to reduce the possibility of damaging the plastic from abrasion.
When taking the reference photos, I started with one photo, but then realised it wasn’t good enough. to take a better photo I used a longer lens on my phone (3 x zoom) and took the photo from farther away to get a better representation of the physic parts for CAD reference.
during the early stages, there were a few parts which were printed with just one wall and no infill, to reduce waste, but still allow me to check the dims were ok.
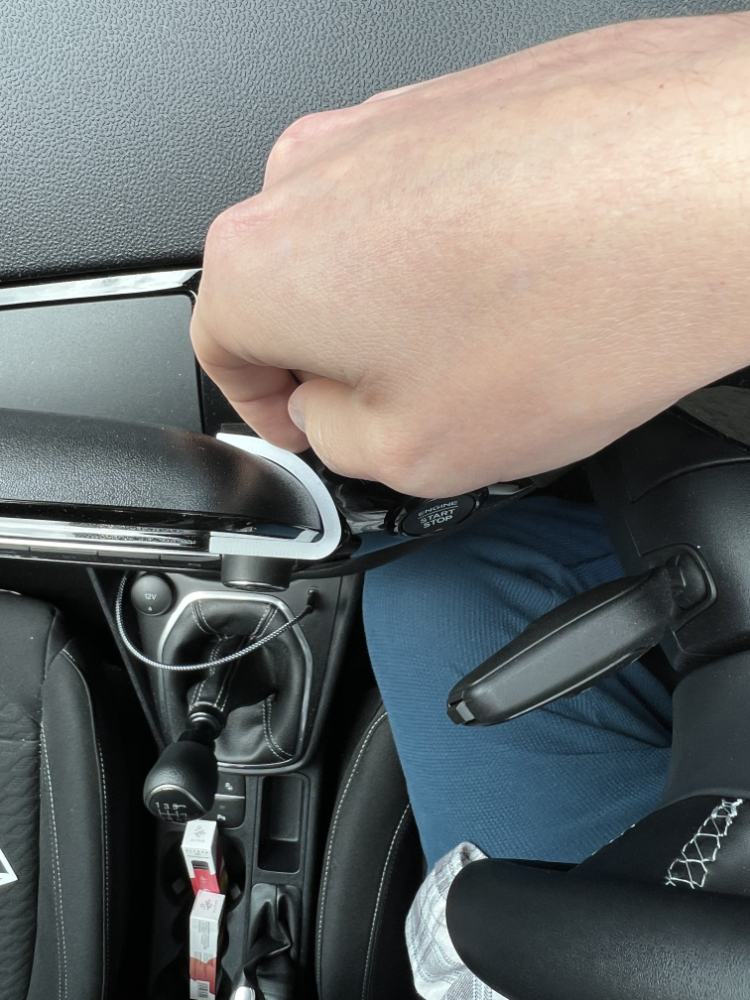
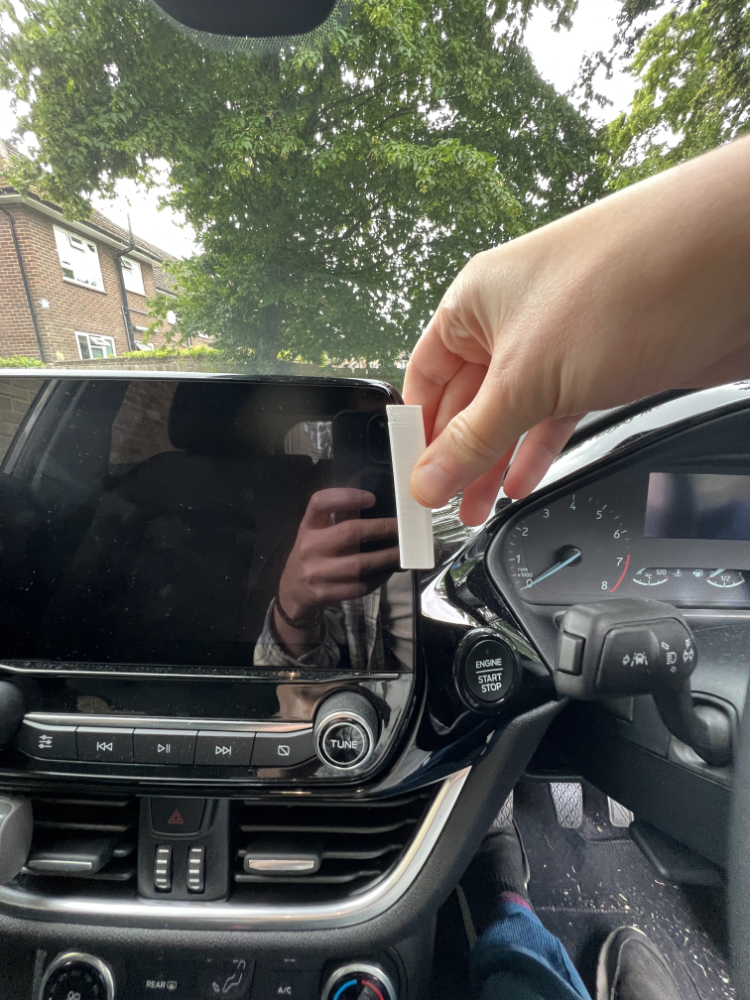
The final piece is not the best print quality (I am currently upgrading my hot-end extruder assembly to a custom new design). Even with bad quality prints, the pieces fit great and there is no movement of the parts while driving.
Initially I tried to use the iPhone 13 Pro lidar scanner to get the basic geometry, but the resolution was not high enough so had to go with the manual method described above.